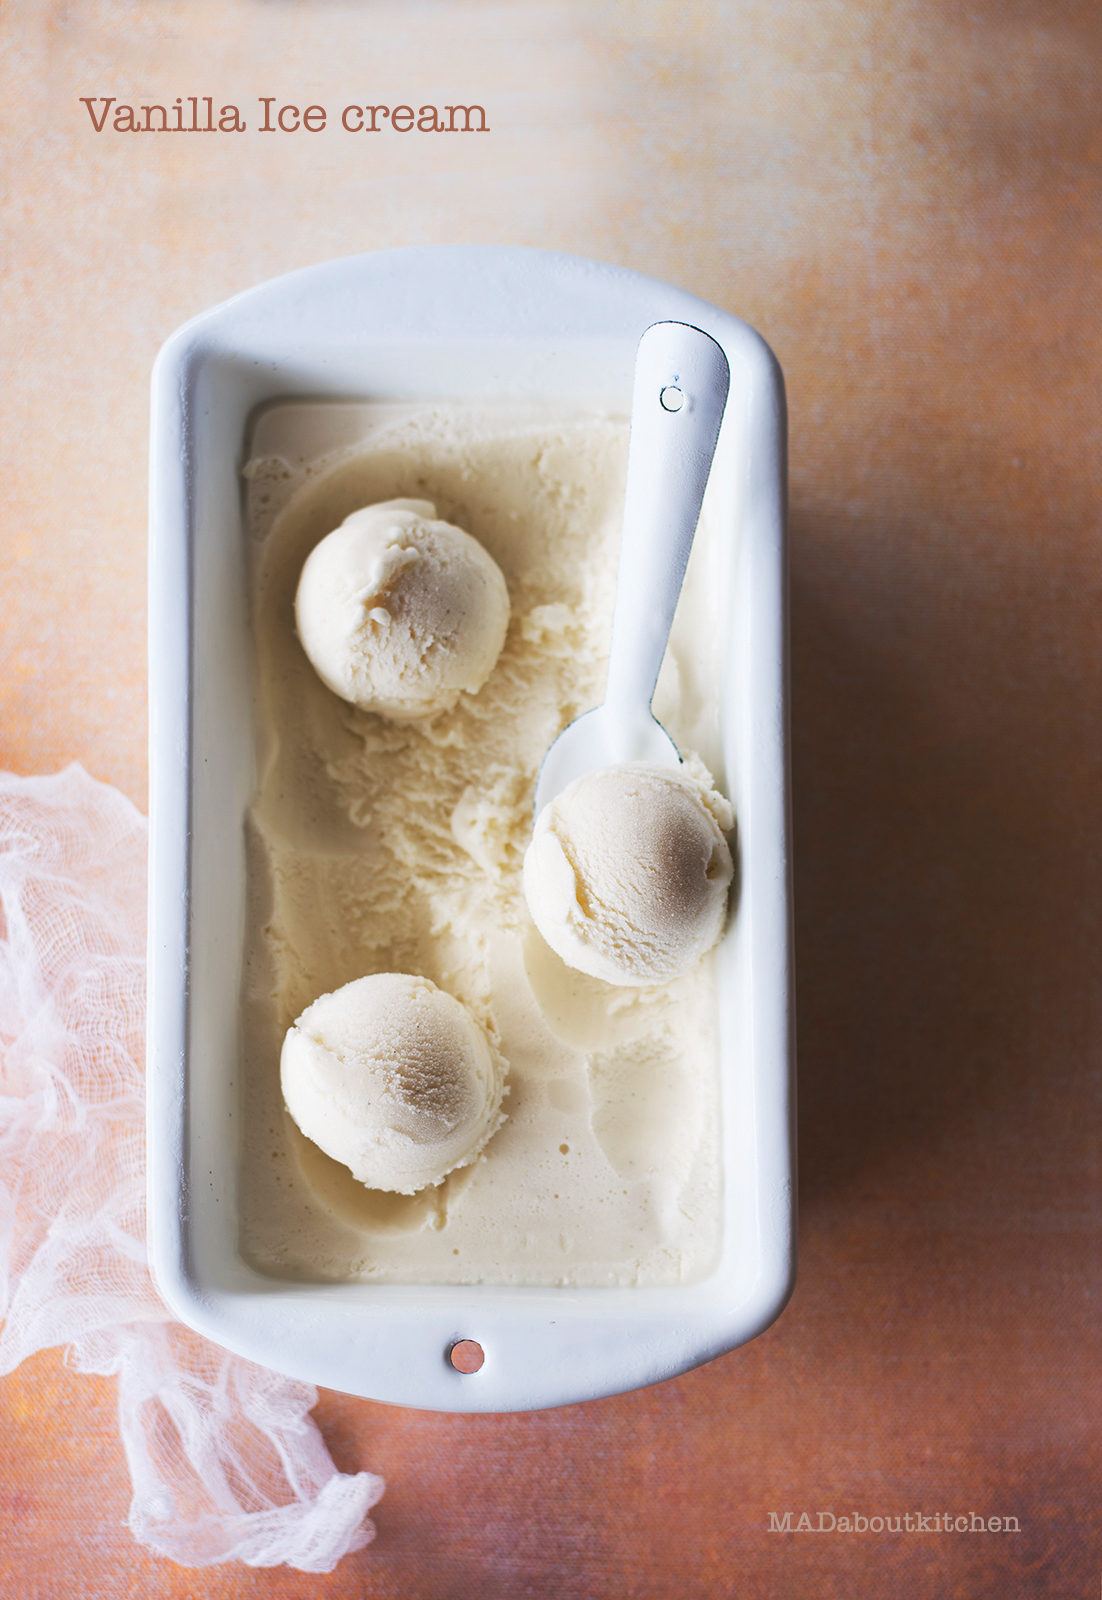
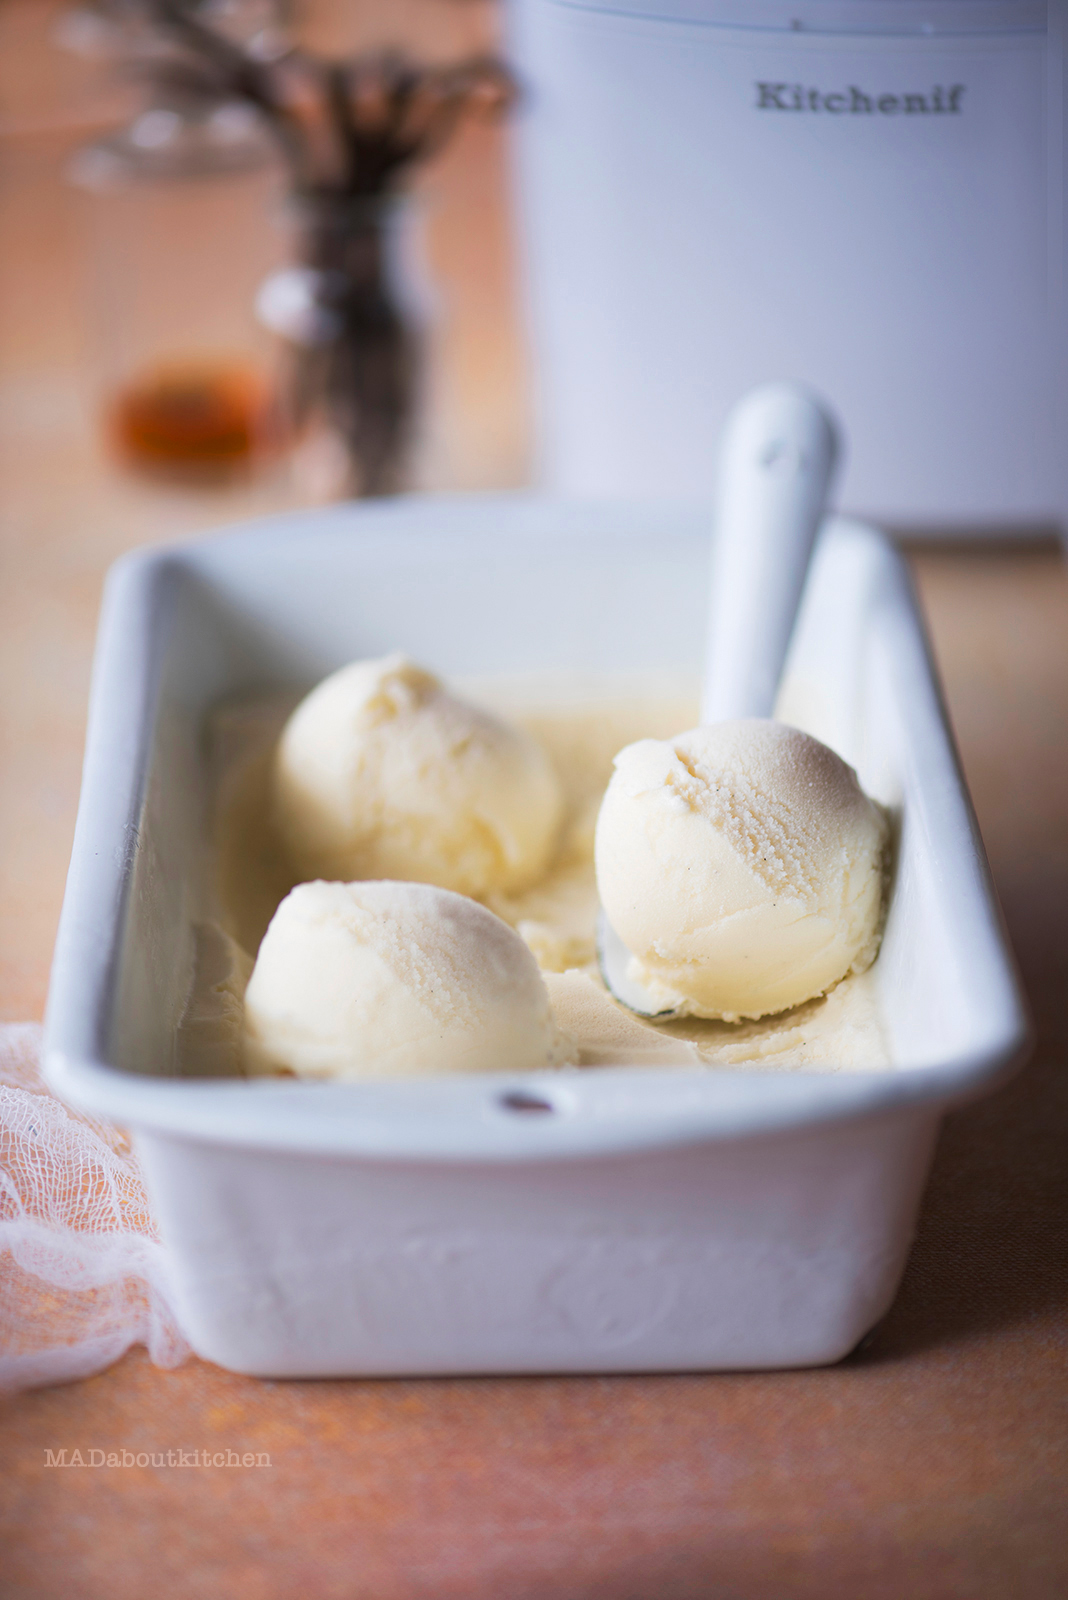
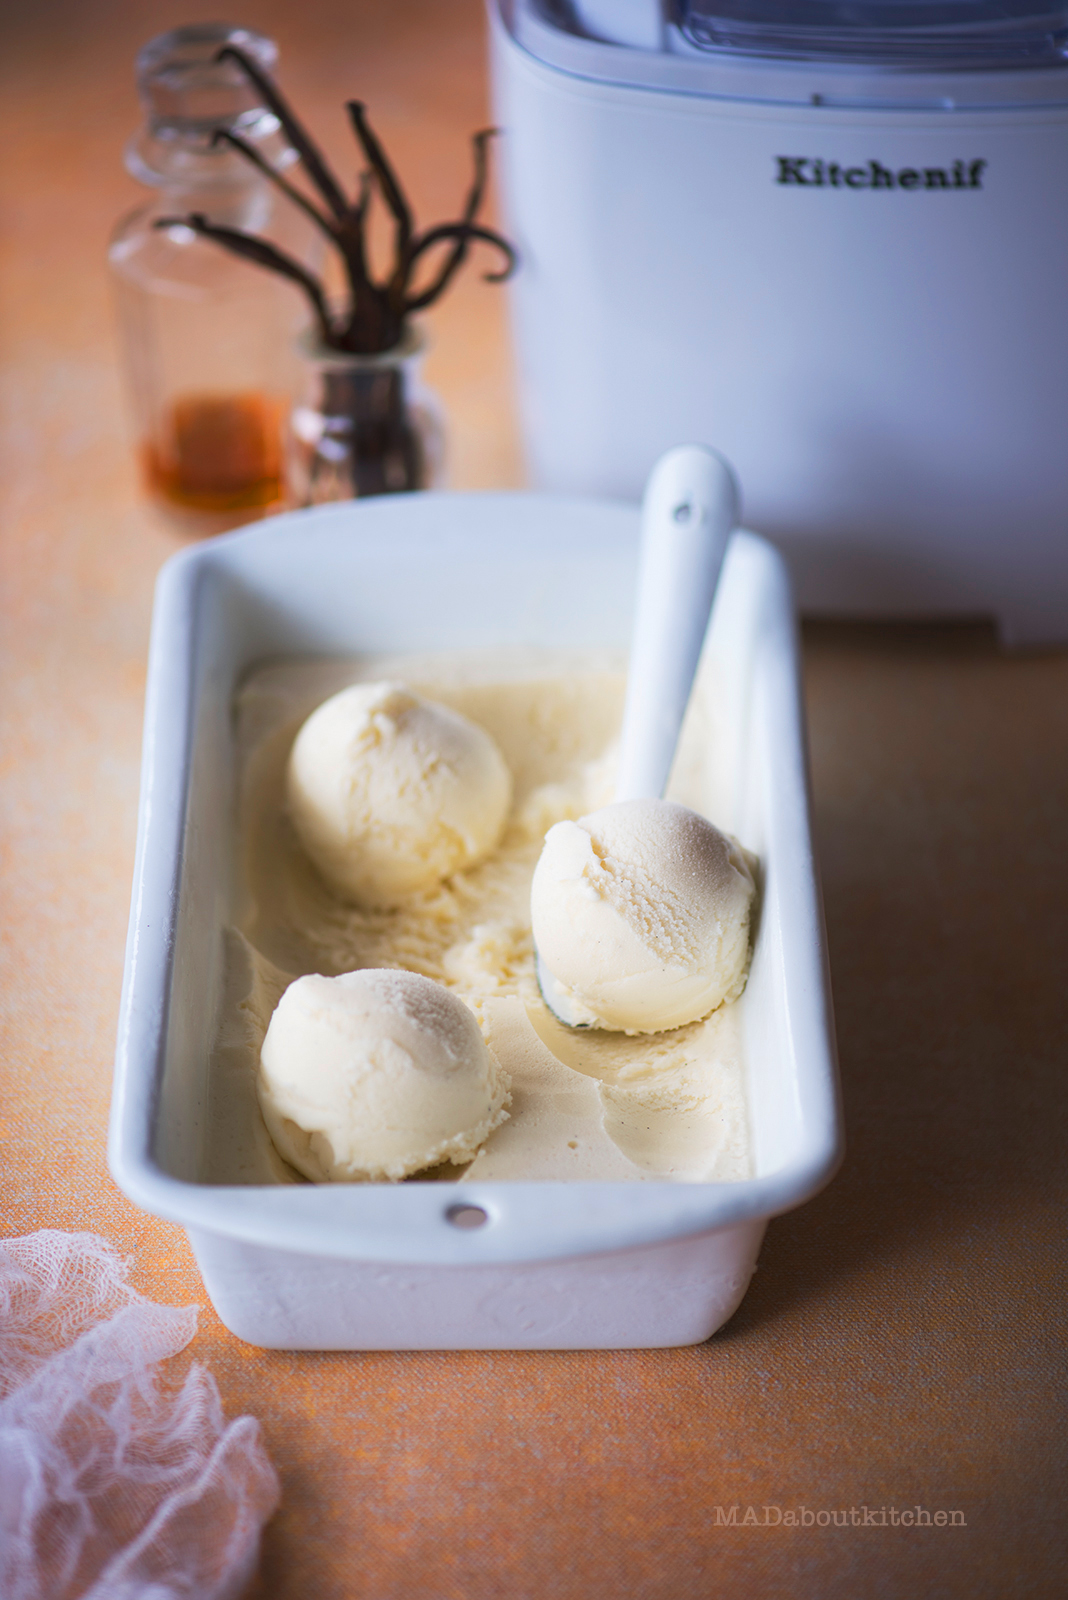
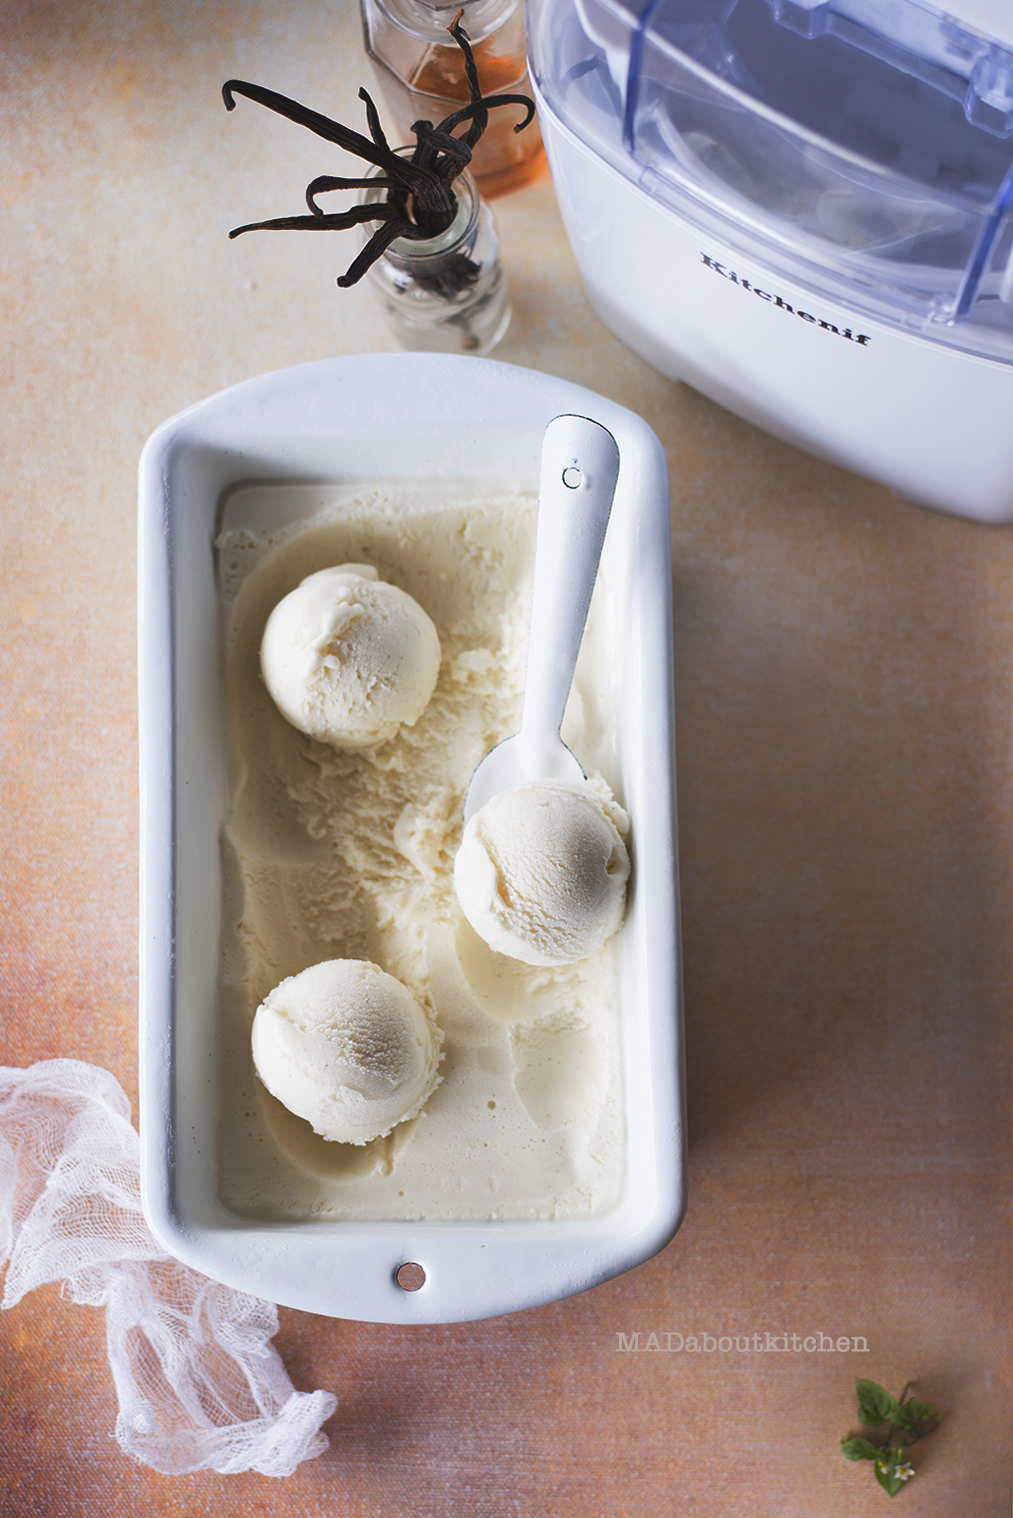
Vanilla Ice cream maybe the basic ice cream flavour of all but never can you get bored of this flavour. A good, creamy, smooth, soft, homemade Vanilla Ice cream can beat any flavour and if you master the Vanilla ice cream first then you can move on to experimenting a whole range of other flavours. My husband can have a whole bucket of Vanilla Ice cream and still crave for more 🙂 . When Kitchenif sent me their ice cream maker and I had to make the basic Homemade Vanilla Ice cream first. So here is the Vanilla Ice cream and I have used Jeni’s base recipe for this and it is absolutely my favourite recipe.
Ingredients
2 cups – Whole milk
2 Tbsp – Corn flour
4 Tbsp – Chena ( soft paneer)
1/8 tsp – salt
1 2/3 cup – Heavy cream ( I use milky mist)
3/4 cup – Granulated sugar
1 tbsp – Vanilla extract
Seeds from 1 Vanilla bean ( optional)
2.5 Tbsp – Corn syrup ( you will get it on Amazon)
1/3 cup – Skimmed Milk to make buttermilk
1 Tbsp – Lemon juice
Method
Preparations
- Make fresh Chena at home. Chena is nothing but freshly made Paneer before draining out all the whey. The softer version.
- Once the Chena is cooled, put it in a blender and blend it till smooth. Really smooth.
- Mix lemon juice to 1/3 cup of skimmed milk that we have reserved to make buttermilk and keep it aside.
- Mix 2 Tbsp of whole milk to the cornstarch to make a smooth slurry in a small bowl and keep it aside.
- Whisk the smooth chena and salt in a medium sized bowl till it is mixed well and super smooth.
- In a large bowl fill ice and water and keep it in the freezer.
These above are the preparations you will need to do before you start.
In a source pan combine the remaining whole milk + sugar + heavy cream + corn syrup and bring it to a boil over a medium heat.
Remove from the heat and gradually whisk the corn starch slurry to this.
Add Vanilla extract and the vanilla seeds to this.
Put the sauce pan back on the heat and cook over medium heat till the mixture thickens like custard.
Once it is thickened, add this custard through a sieve to the cream cheese gradually while whisking it continuously.
Using a sieve will take out any uncooked lumps in the custard.
Mix till smooth. Pour this mixture into a zip lock bag and seal it tight.
Immerse this bag in the bowl of ice that we had left in the freezer. Leave it in the freezer for 30 mins.
Now pour this mixture into the ice cream maker and churn it for 40 mins or till stiff. ( follow the instructions on your ice cream maker as it varies from one machine to the other)
You can serve the soft churned ice cream immediately.
Or transfer the ice cream into an AIR TIGHT container. Place a parchment paper on top. The paper should be touching the ice cream completely.
This will ensure there are no ice particles that develop while freezing.
Close the lid and freeze for at least 4 hours to firm up.
Bring out the box 5 mins before you serve to thaw. Use a spoon dipped in warm water to scoop out nice a smooth scoops.
And ENJOY!!!!
- 2 cups - Whole milk
- 2 Tbsp - Corn flour
- 4 Tbsp - Chena ( soft paneer)
- ⅛ tsp - salt
- 1⅔ cup - Heavy cream ( I use milky mist)
- ¾ cup - Granulated sugar
- 1 tbsp - Vanilla extract
- Seeds from 1 Vanilla bean ( optional)
- 2.5 Tbsp - Corn syrup ( you will get it on Amazon)
- ⅓ cup - Skimmed Milk to make buttermilk
- 1 Tbsp - Lemon juice
- Preparations Steps: Make fresh Chena at home. Chena is nothing but freshly made Paneer before draining out all the whey. The softer version.
- Once the Chena is cooled, put it in a blender and blend it till smooth. Really smooth.
- Mix lemon juice to ⅓ cup of skimmed milk that we have reserved to make buttermilk and keep it aside.
- Mix 2 Tbsp of whole milk to the cornstarch to make a smooth slurry in a small bowl and keep it aside.
- Whisk the chena and salt in a medium sized bowl till it is mixed well and super smooth.
- In a large bowl fill ice and water and keep it in the freezer.
- These above are the preparations you will need to do before you start.
- Now to start making the Ice cream, in a source pan combine the remaining whole milk + sugar + heavy cream + corn syrup and bring it to a boil over a medium heat.
- Remove from the heat and gradually whisk the corn starch slurry to this.
- Add Vanilla extract and the vanilla seeds to this.
- Put the sauce pan back on the heat and cook over medium heat till the mixture thickens like custard.
- Once it is thickened, add this custard through a sieve to the cream cheese gradually while whisking it continuously.
- Using a sieve will take out any uncooked lumps in the custard.
- Mix till smooth. Pour this mixture into a zip lock bag and seal it tight.
- Immerse this bag in the bowl of ice that we had left in the freezer. Leave it in the freezer for 30 mins.
- Now pour this mixture into the ice cream maker and churn it for 40 mins or till stiff. ( follow the instructions on your ice cream maker as it varies from one machine to the other)
- You can serve the soft churned ice cream immediately.
- Or transfer the ice cream into an AIR TIGHT container. Place a parchment paper on top. The paper should be touching the ice cream completely.
- This will ensure there are no ice particles that develop while freezing.
- Close the lid and freeze for at least 4 hours to firm up.
- Bring out the box 5 mins before you serve to thaw. Use a spoon dipped in warm water to scoop out nice a smooth scoops.
- And ENJOY!!!!
Leave a Reply