
Ingredients
For the pattern
1 no – Egg white
30 gm – Granulated sugar
40 gms – All purpose flour
20 gms – Unsalted butter, softened
Color, as per your liking
For the Cake
3nos Eggs
80gms – Brown sugar
1 tsp – Vanilla extract
1 tbsp – Vegetable oil
1 tbsp – Milk
1/2 cup – All purpose flour
2 tbs – Cocoa, plus extra for dusting
A pinch of salt
For the filling
50gms – Dark Chocolate
50gms + 50gms – Fresh cream (i used Milky mist)

Preparation
Take a print out of the design that you want to creat in the roll. I downloaded the template from here.
Grease a baking tray with 1.5t to 2 cms depth ( the one that is usually used to make barfis). Put your template at the base of the tray. Line the parchment paper over it.

Method
For the pattern
Using a fork whisk the egg white in a small bowl. Add in sugar. And then the flour. Mix well. Beat in the softened butter to make a smooth paste. Divide batter if necessary and color as desired. Put in piping bags and using the template as a guideline, pipe the pattern.
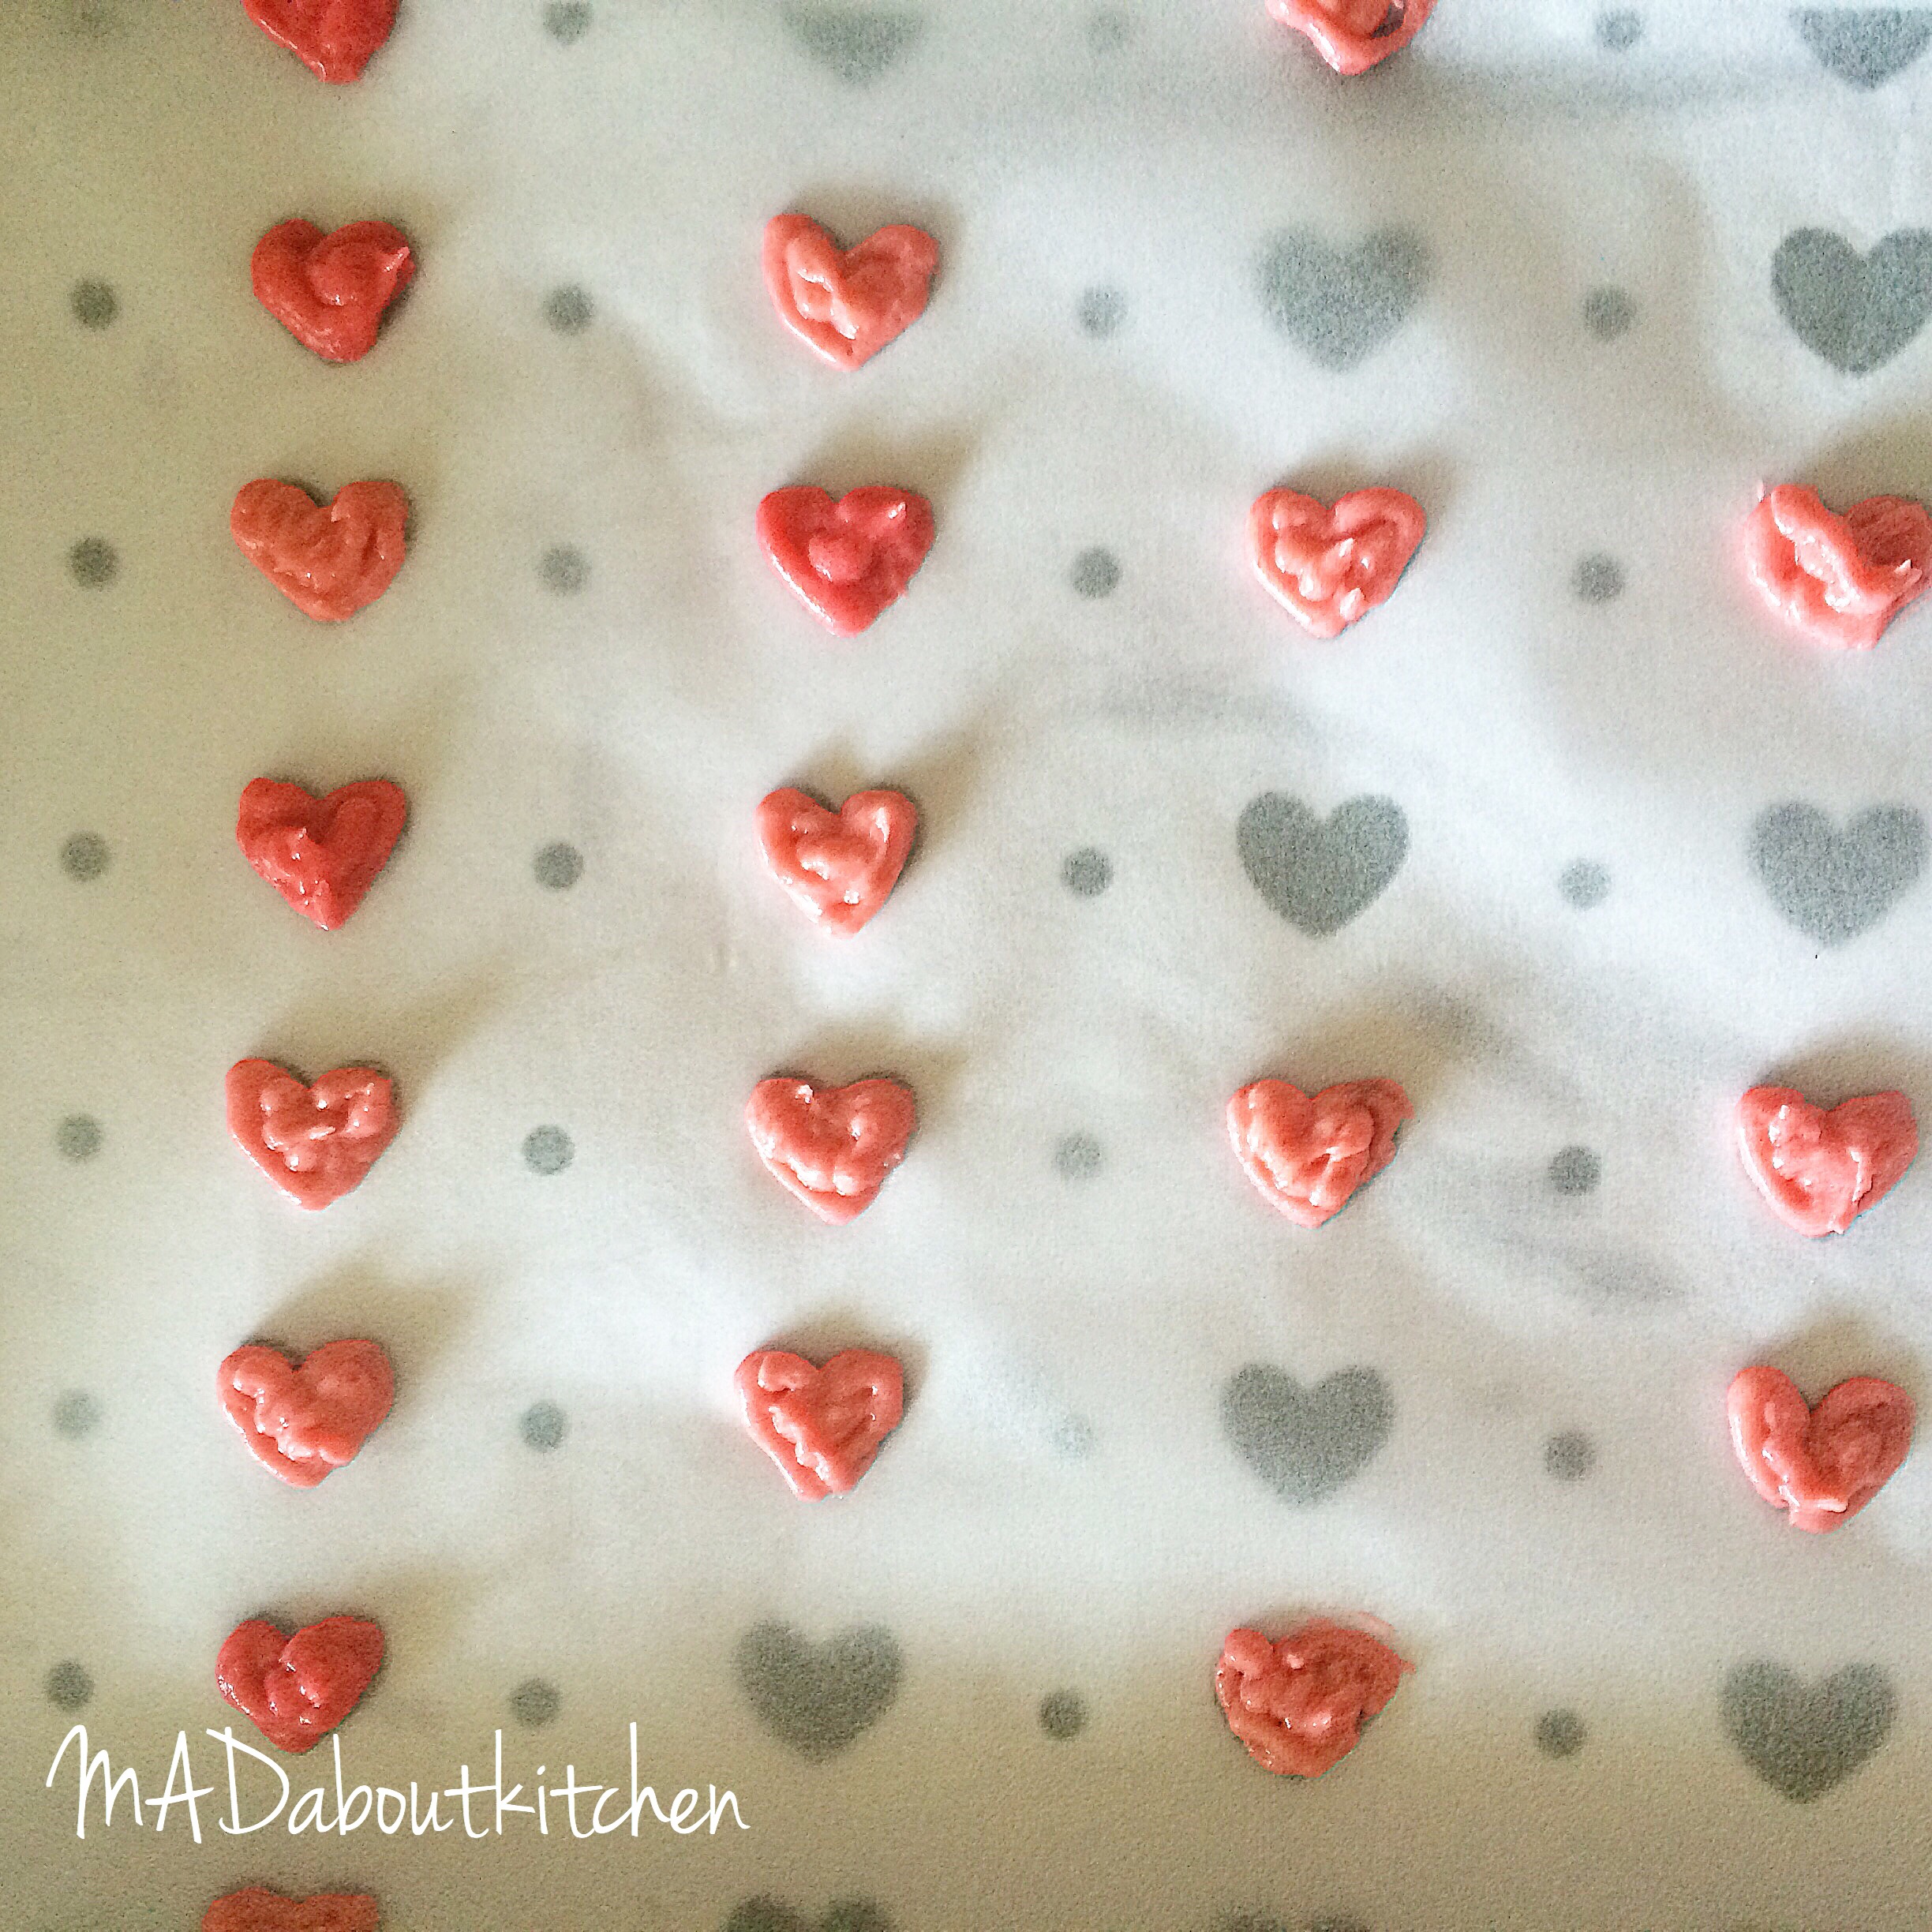 Put in the freezer for at least 15 minutes, and make the cake batter.

For the cake
Preheat the oven to 180°C.
Place the eggs, sugar and vanilla extract in a large bowl and whisk with a hand blender until the mixture doubles in quantity and turns pale and creamy.
Add the oil and milk and gently fold using a spatula. Sift in the flour, cocoa and salt and fold through gently, being careful not to knock too much air out of the whisked eggs.
Pour the mixture into the prepared tin with the frozen hearts and tilt to distribute evenly. Bake for 10 minutes, or until the skewer comes out clean.

While the cake is in the oven,
Cut a baking paper and dust it with icing sugar or cocoa powder. When the cake is done remove from the oven and immediately turn it onto the cocoa dusted baking paper. Remove the baking paper from the back of the cake. You will now see the beautiful patterned part.
 Cover this with one more layer of baking paper and turn it again to get the patterened side down. And immediately, beginning at the narrow end of the cake, roll into a tight roll. Let the baking paper stay as you roll. Place the roll on a wire cooling rack, seam side down, to cool completely.

Filling and the final roll
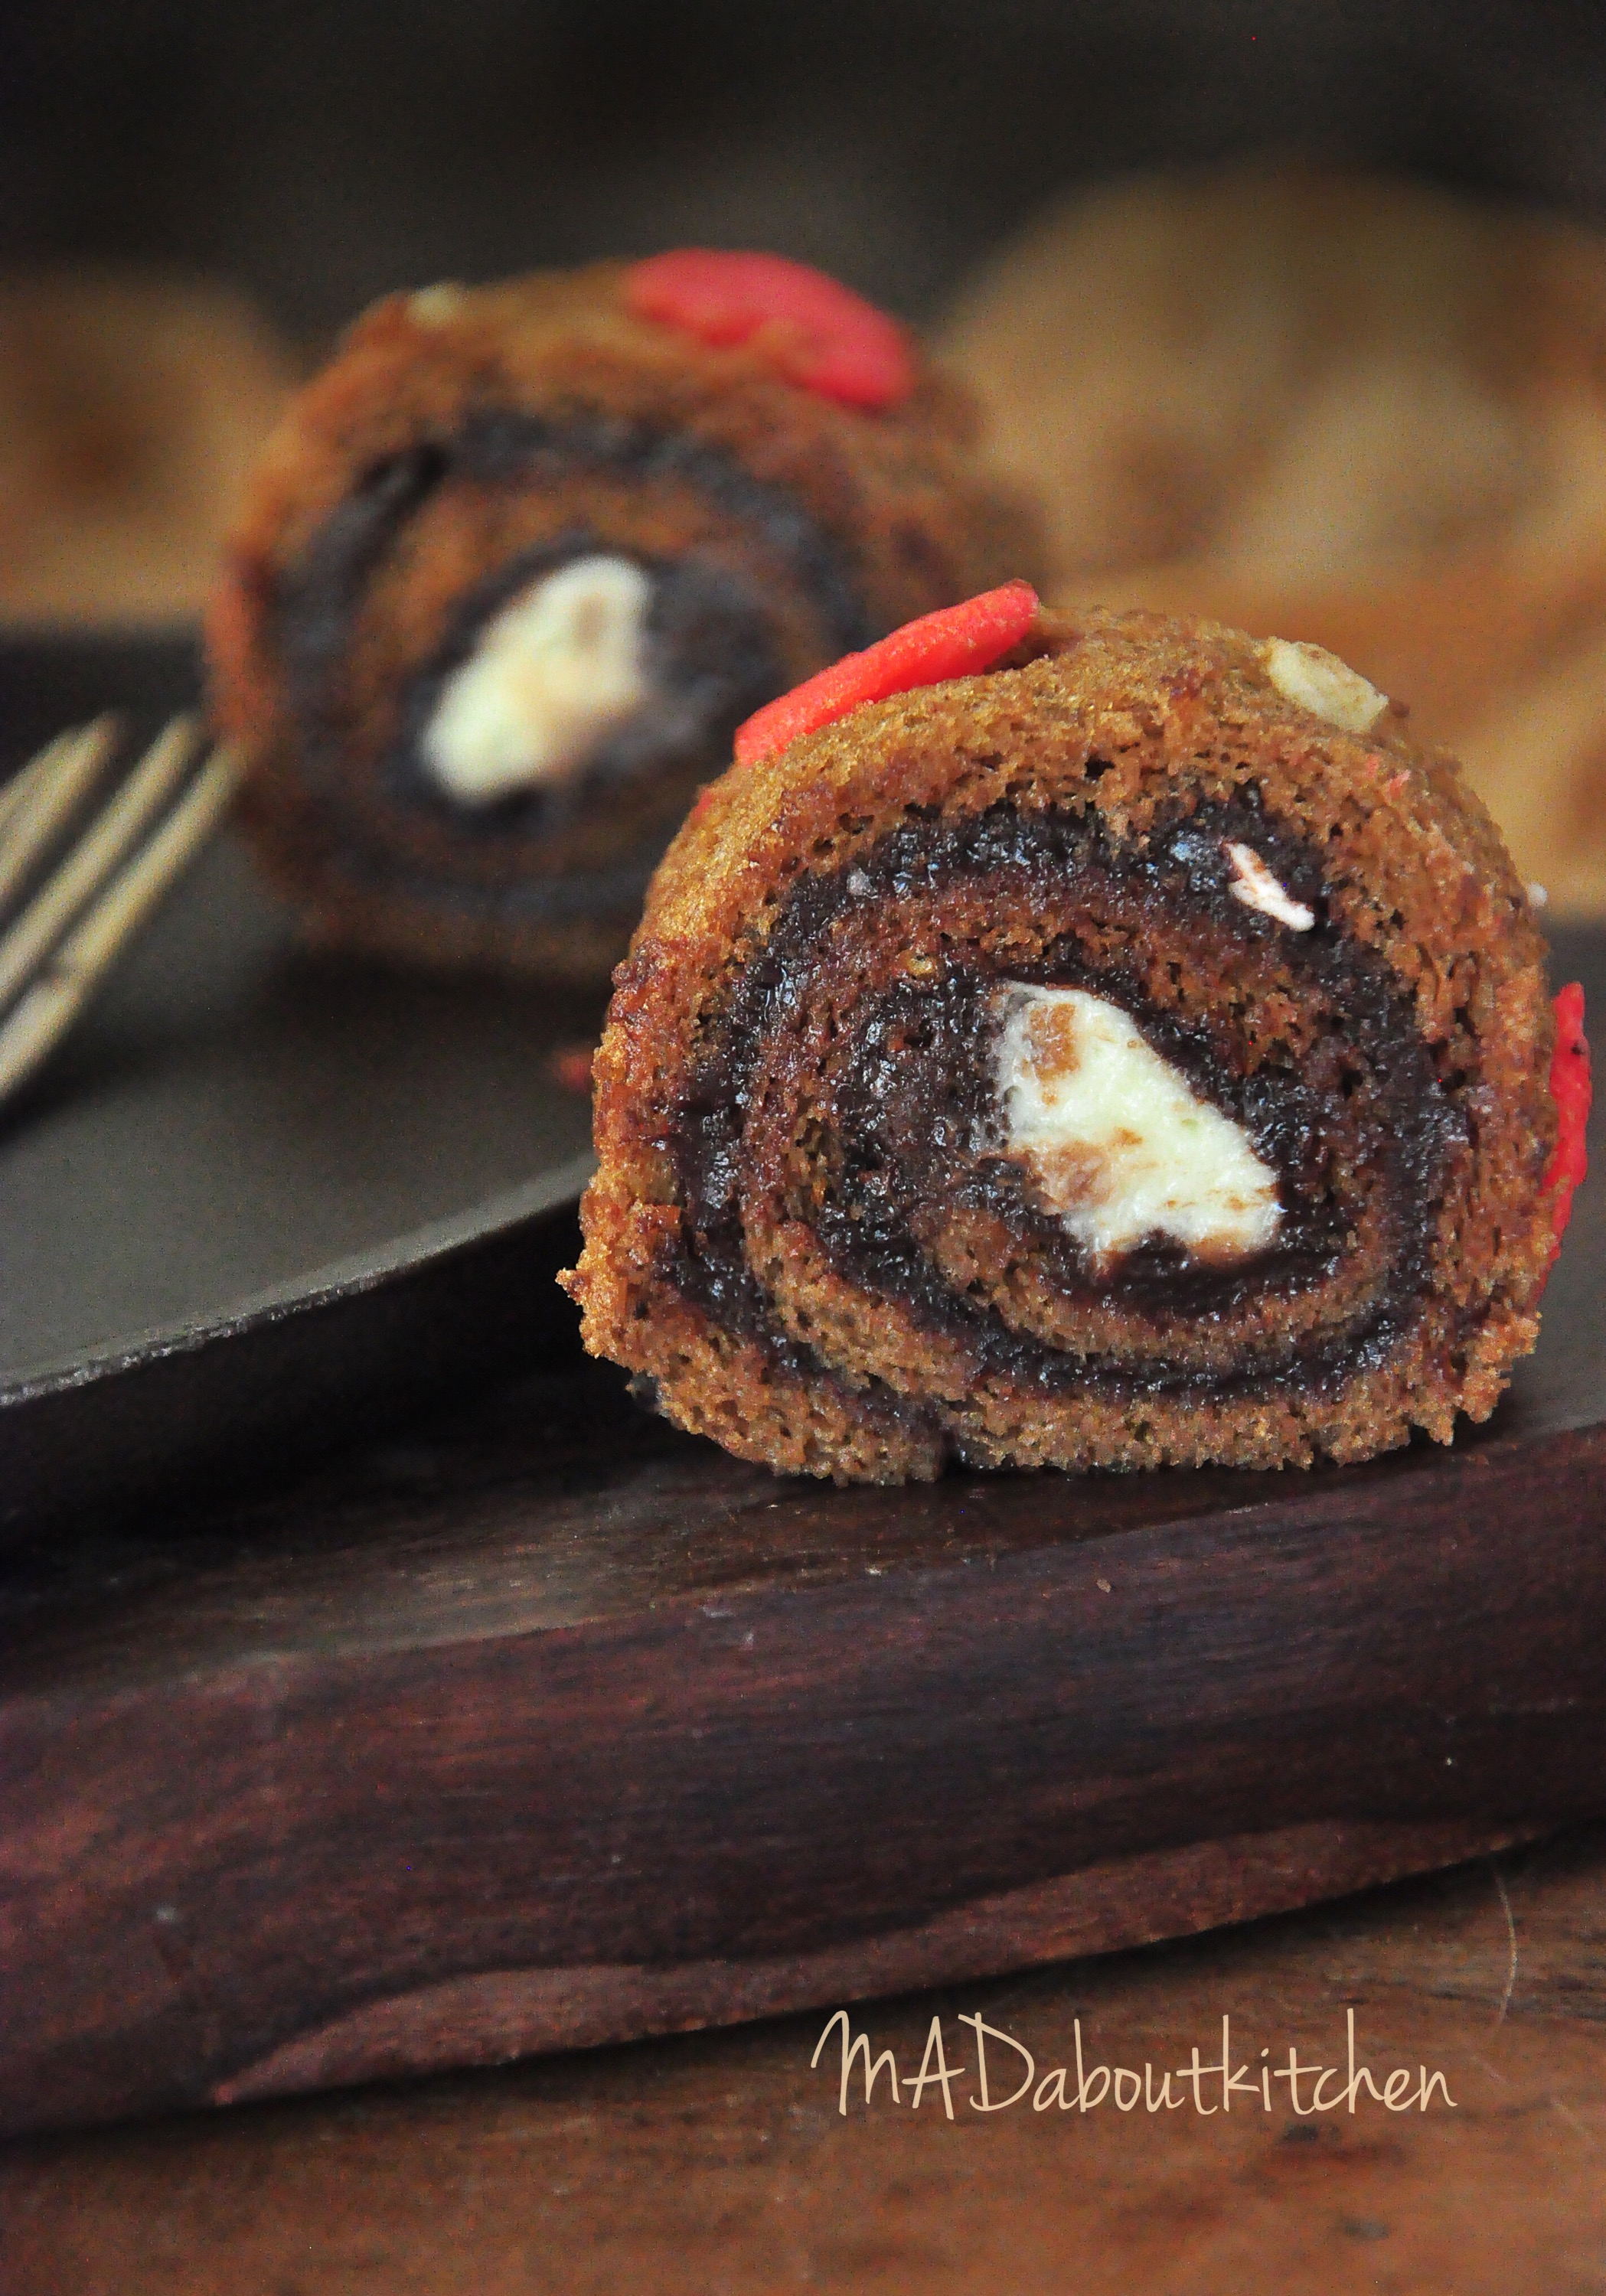
In a saucepan gently heat dark chocolate and 50gms fresh cream. Heat it to just melt the chocolate. Mix it well. You will now have a silky smooth chocolate ganache.
Whip the other 50gms of fresh cream in a seperate bowl till it is stiff.

Once the roll is cooled gently roll it back and remove the parchment sheet from the inner part. Smear the ganache generously all over. Spoon the whipped cream at one end (the end from which you will begin rolling)
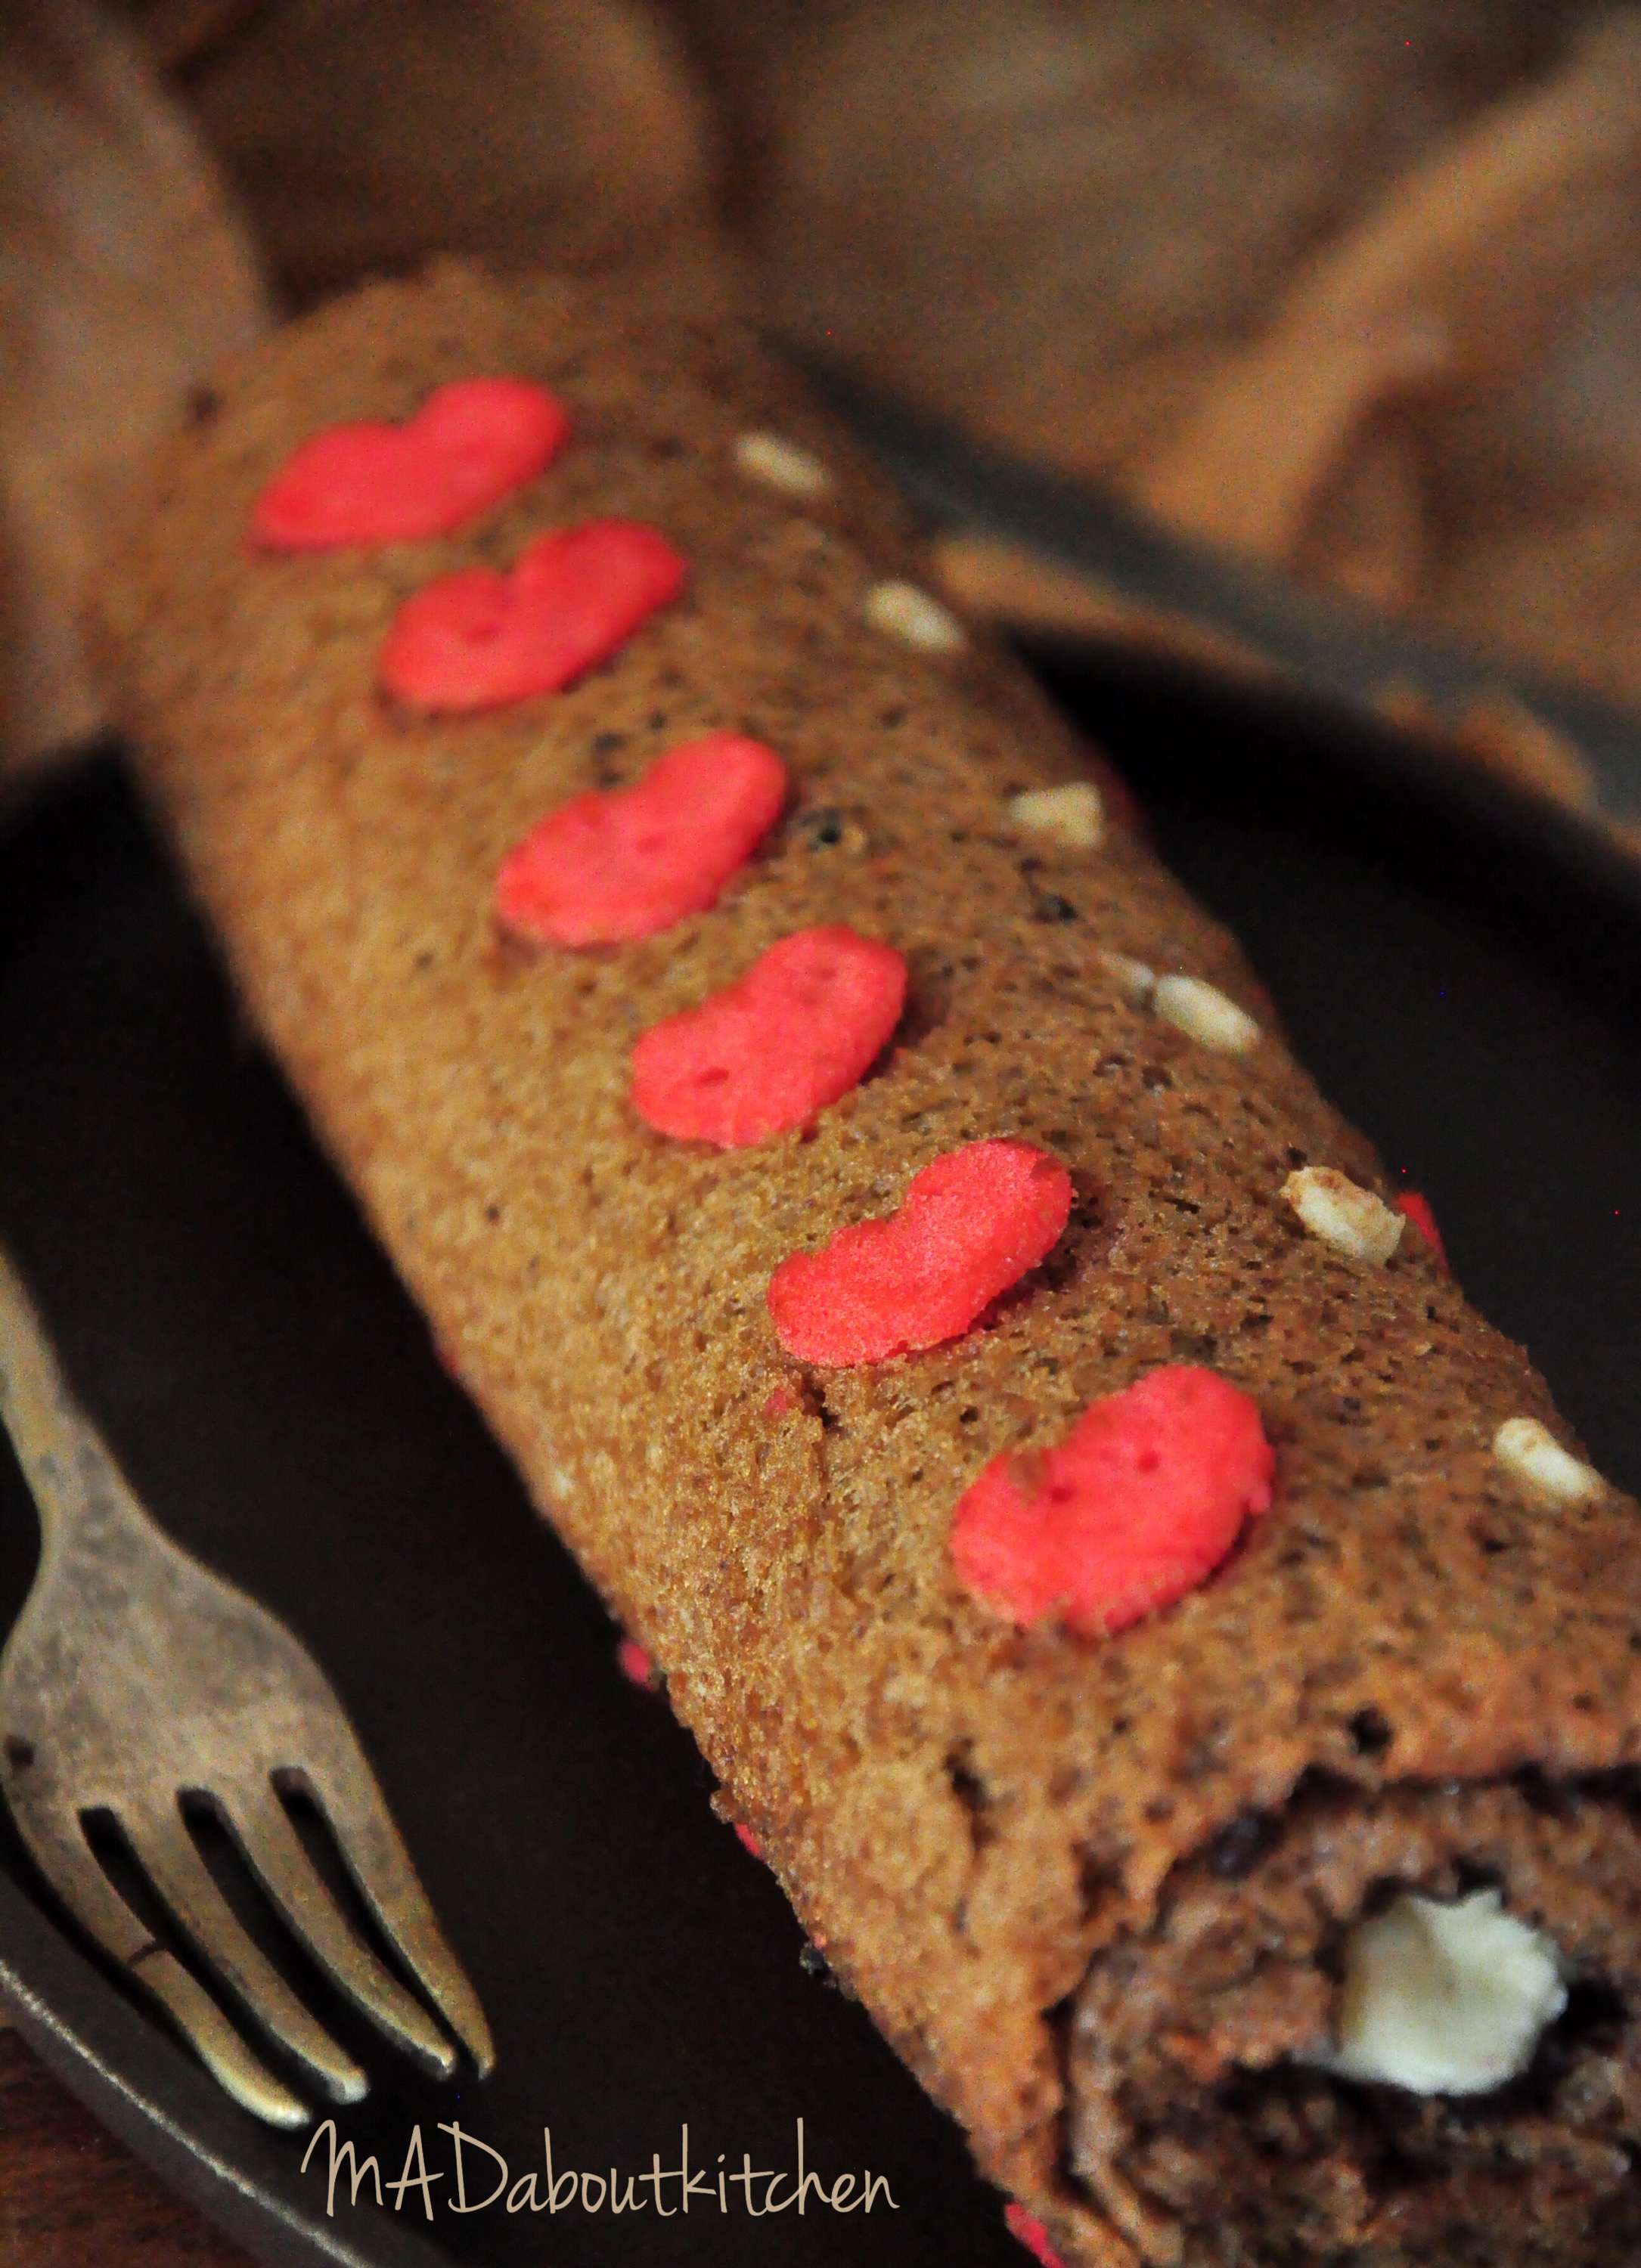
Roll the cake back tightly buy gently. Place the seam end down.
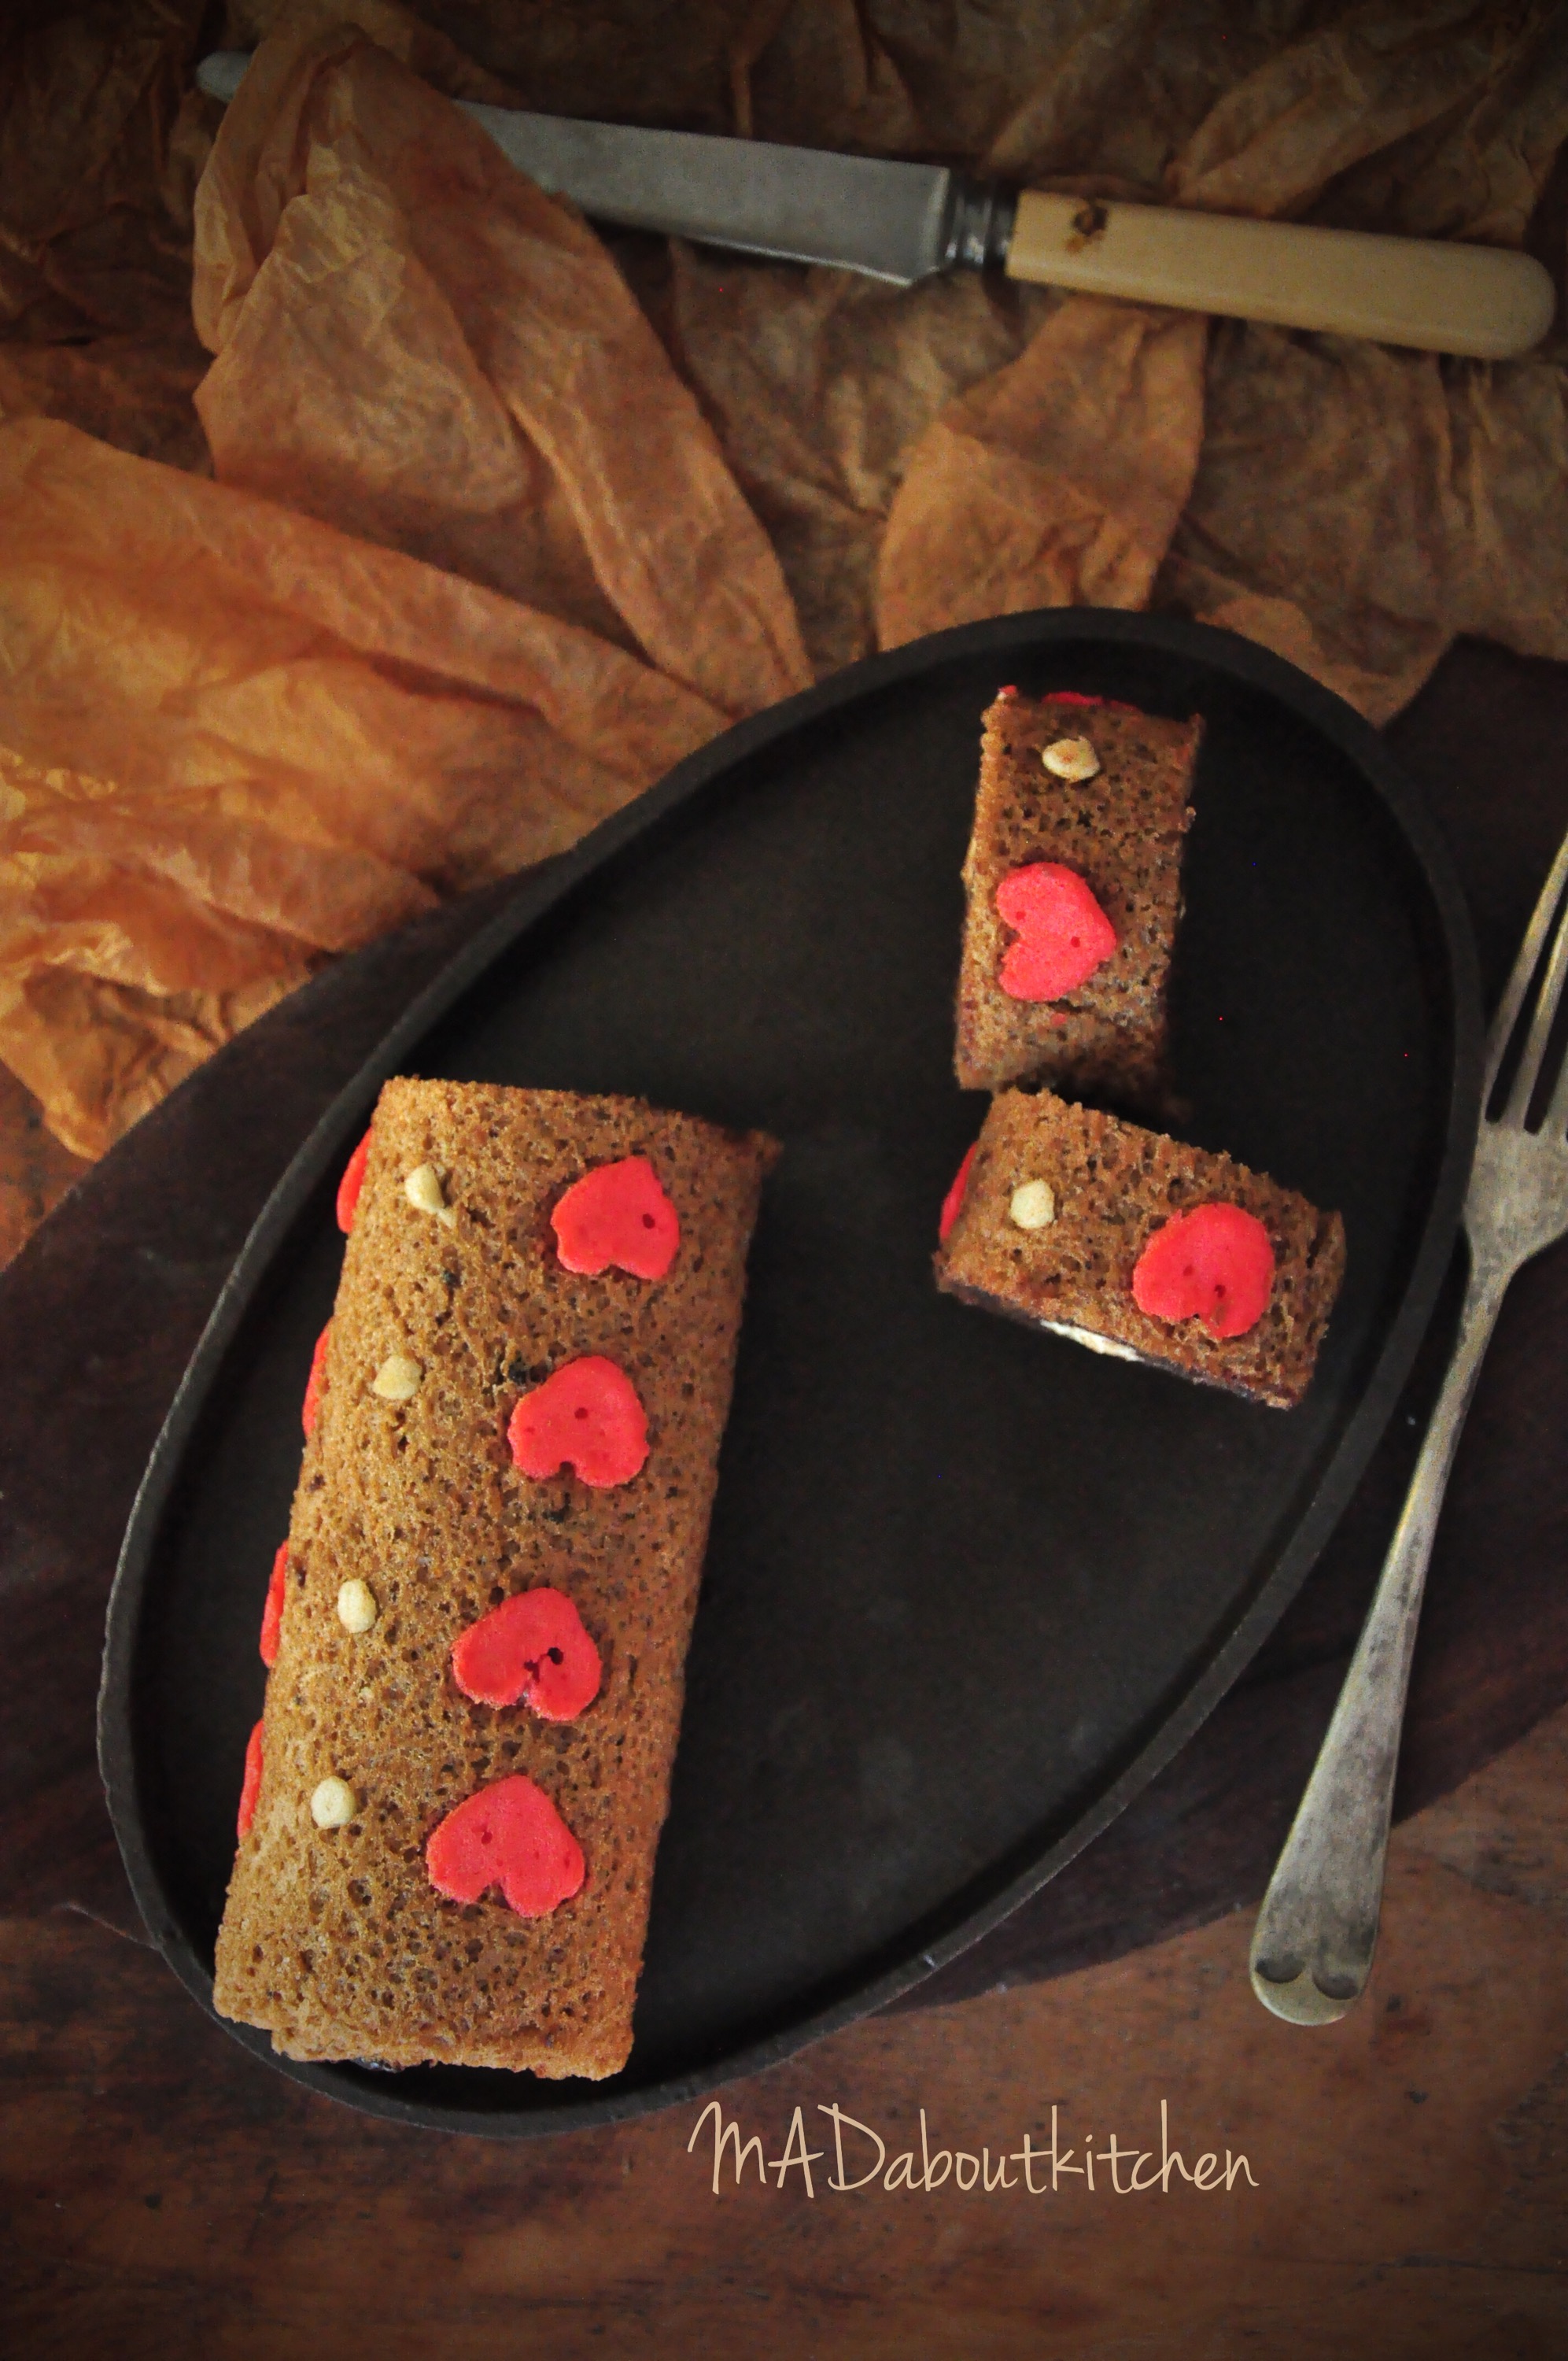
Make it a day in advance for the cake to be moist and seasoned. Slice the roll and serve.

The pattern recipe and template courtesy: www.delightdoulce.com
What is the exact size of the pan? Can I bake it in a 8 inch square tin?
8″ should be fine. But a rectangular one works better