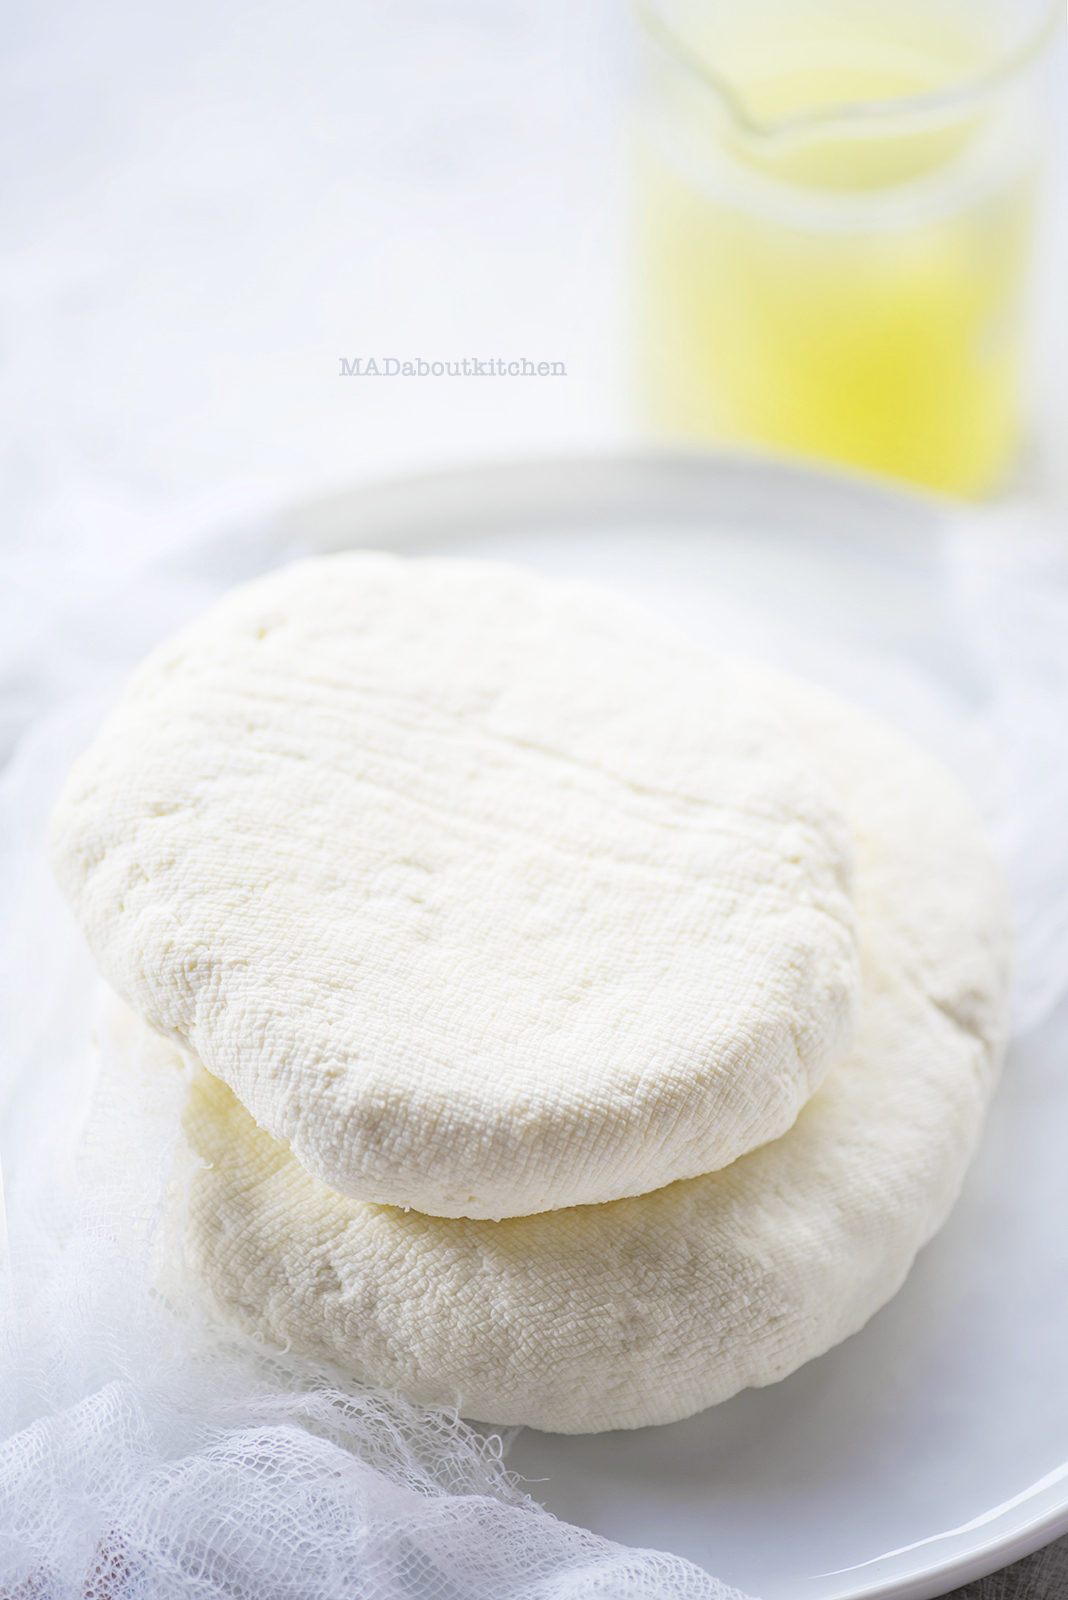
Homemade Paneer is the easiest, simplest, creamiest and softest cottage cheese you can make. Paneer is one of the most loved dishes in India.
Being married to a Punjabi, is like being married to Paneer, Aloo, Roti and Mithai. Basically to food. And for a Punjabi making paneer is, baiyein haath ka khel.. But being a southindian i learnt it after a lot of trial and errors. Crumbly, pale, yellow, these were all the problematic paneers that i have made.
I have kneaded it, tied it loose, pressed it for long and the list of my errors went long..
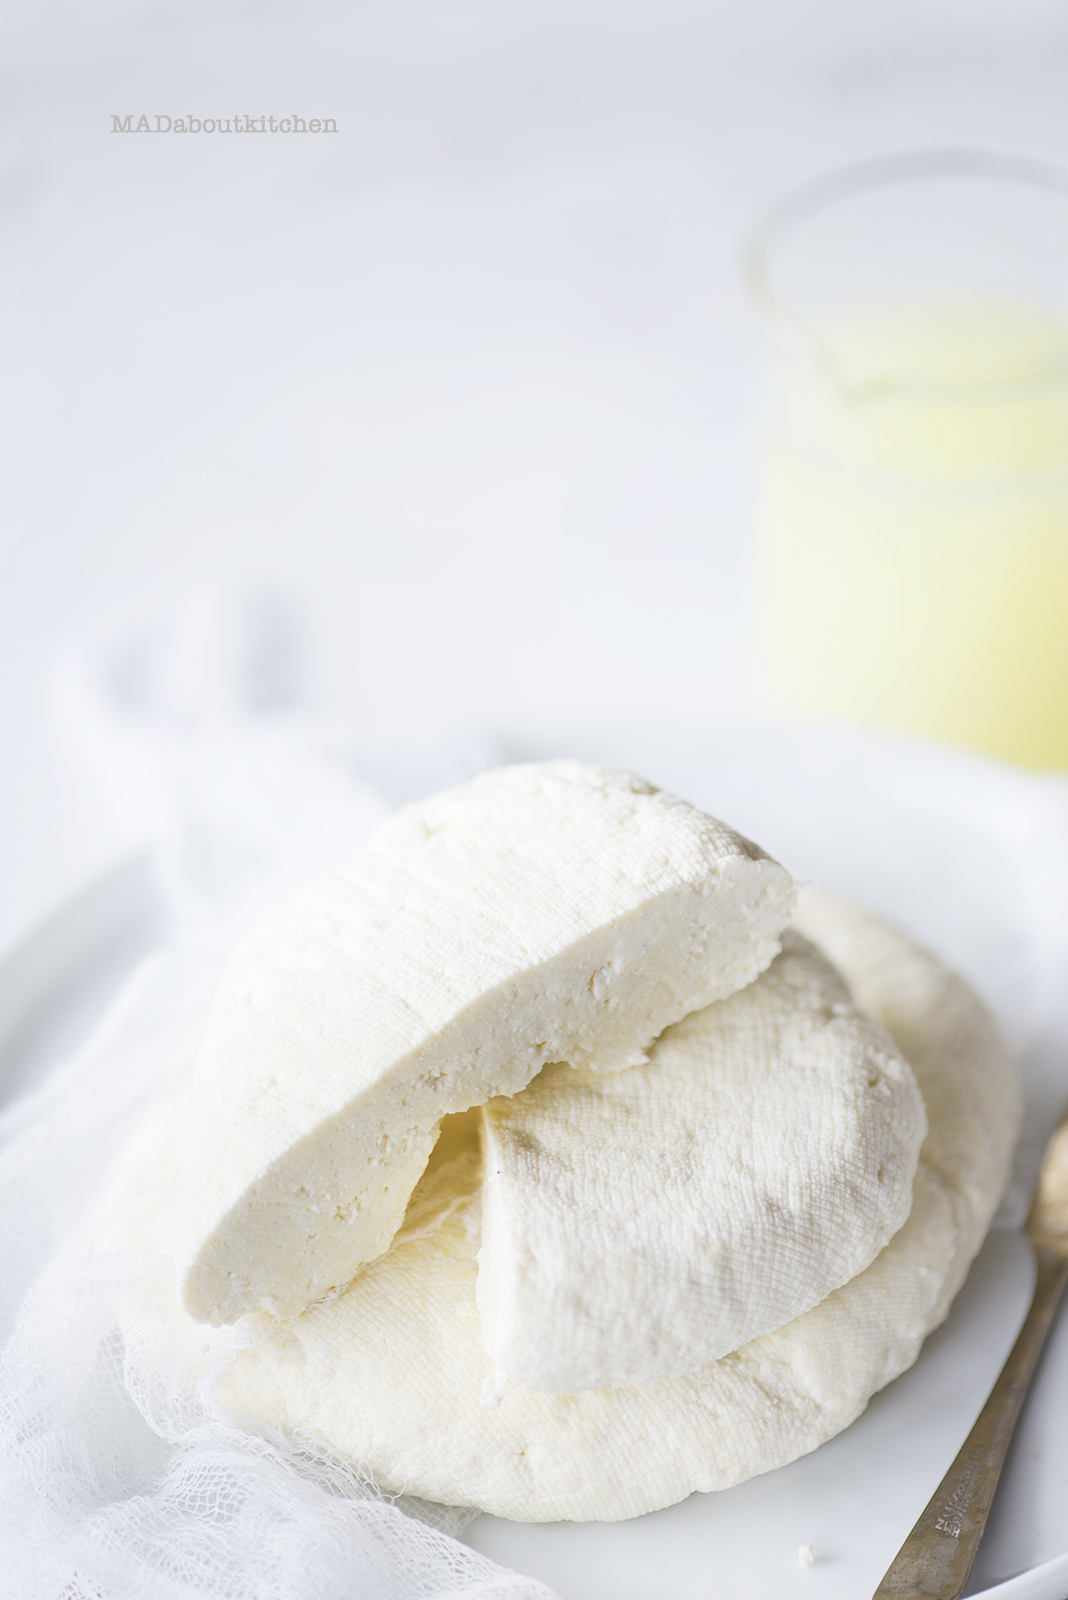
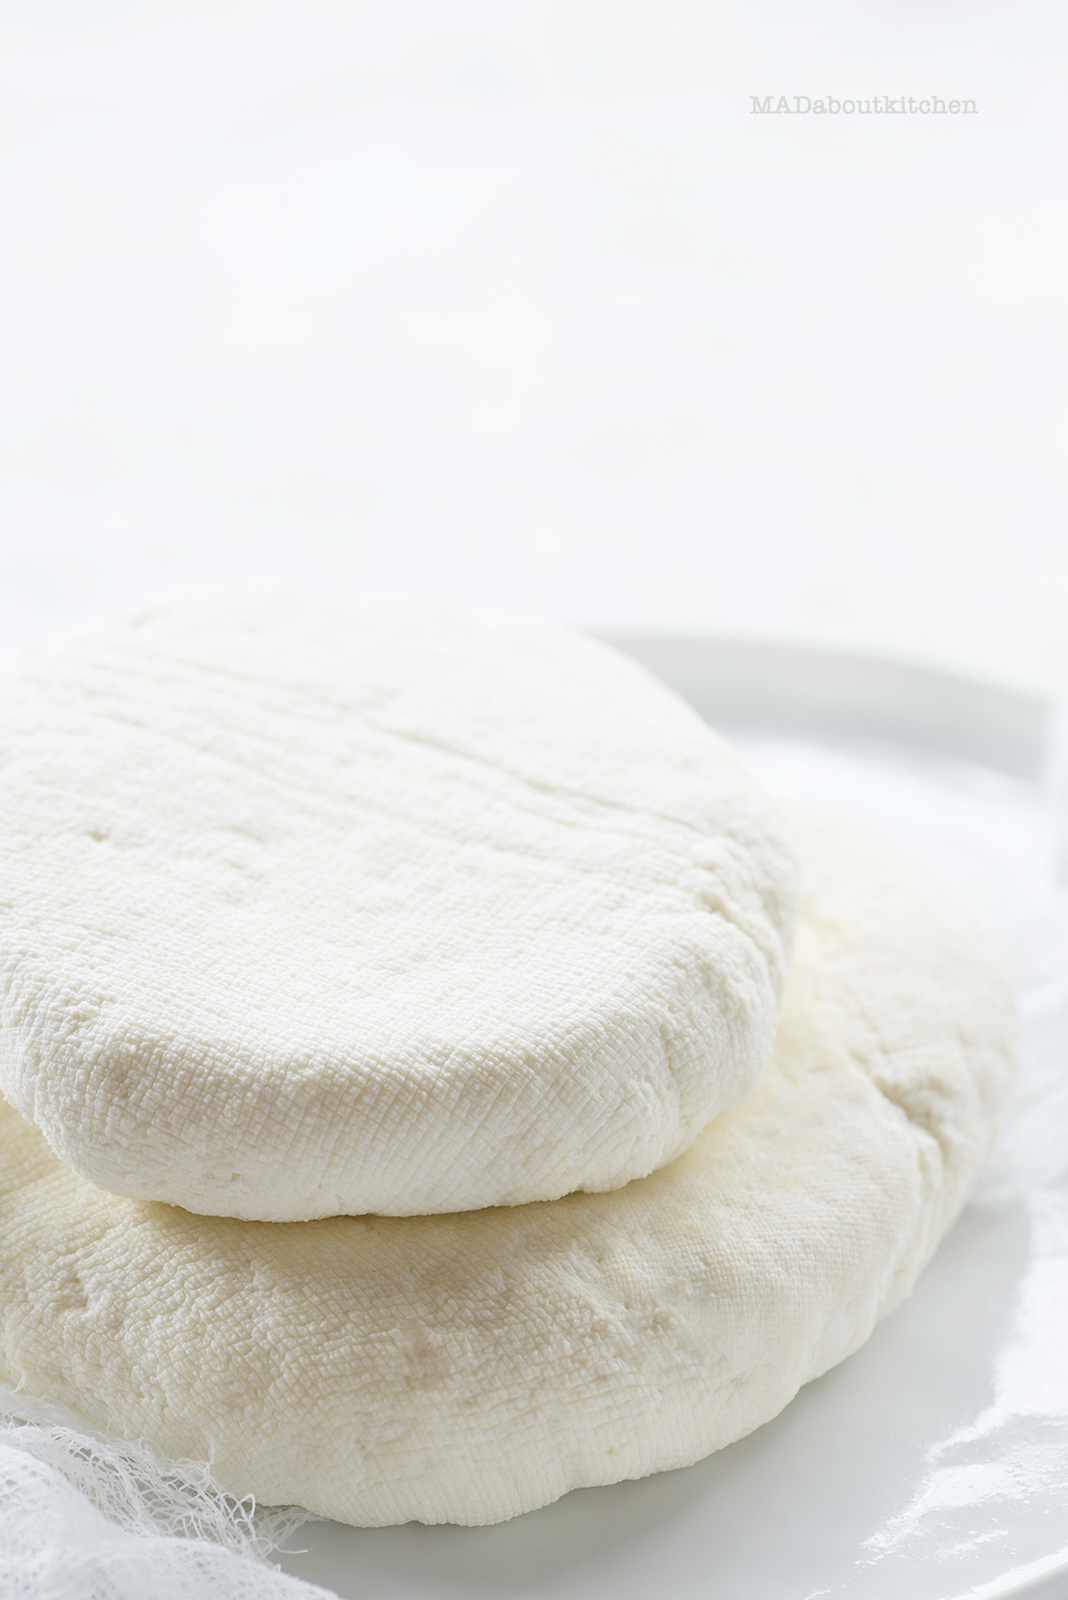
Now Homemade Paneer is my bayein haath ka khel too?. Homemade Paneer that is soft creamy paneer, restaurant quality..
Ingredients
For a 1″ thick and a 6″diameter disc
2 ltr – Whole milk
3/4 ltr – Curd
Juice of 1 Lemon ( if needed only )
Equipments required
Big vessel, thick bottom, with 4 ltr capacity
Muslin cloth
6″ wide Strainer preferable flat bottomed
A vessel for the strainer to sit on
Mortar for the weight
Method
Line muslin cloth on the strainer and place it on the vessel.
In the big vessel pour in all the milk and heat it while stirring occasionally to avoid milk from getting stuck to the bottom. If the vessel is not thick bottomed it will anyways get stuck. But do not scrape it. This will spoil the uniformity of the paneer.
As soon as the milk boils and comes up, add half the amount of curd. Stir well. The milk will start curdling. If not add till it curdles. The milk should curdle well and the light lemony whey should seperate from the curd. This whole process of curdling will take a minute. The amount of curd required will depend on how fat the milk is and how sour the curd is. Do not mix the liquid vigorously. Lightly keep gathering the curdled milk to one end of the vessel. This will keep the paneer soft and not dense.
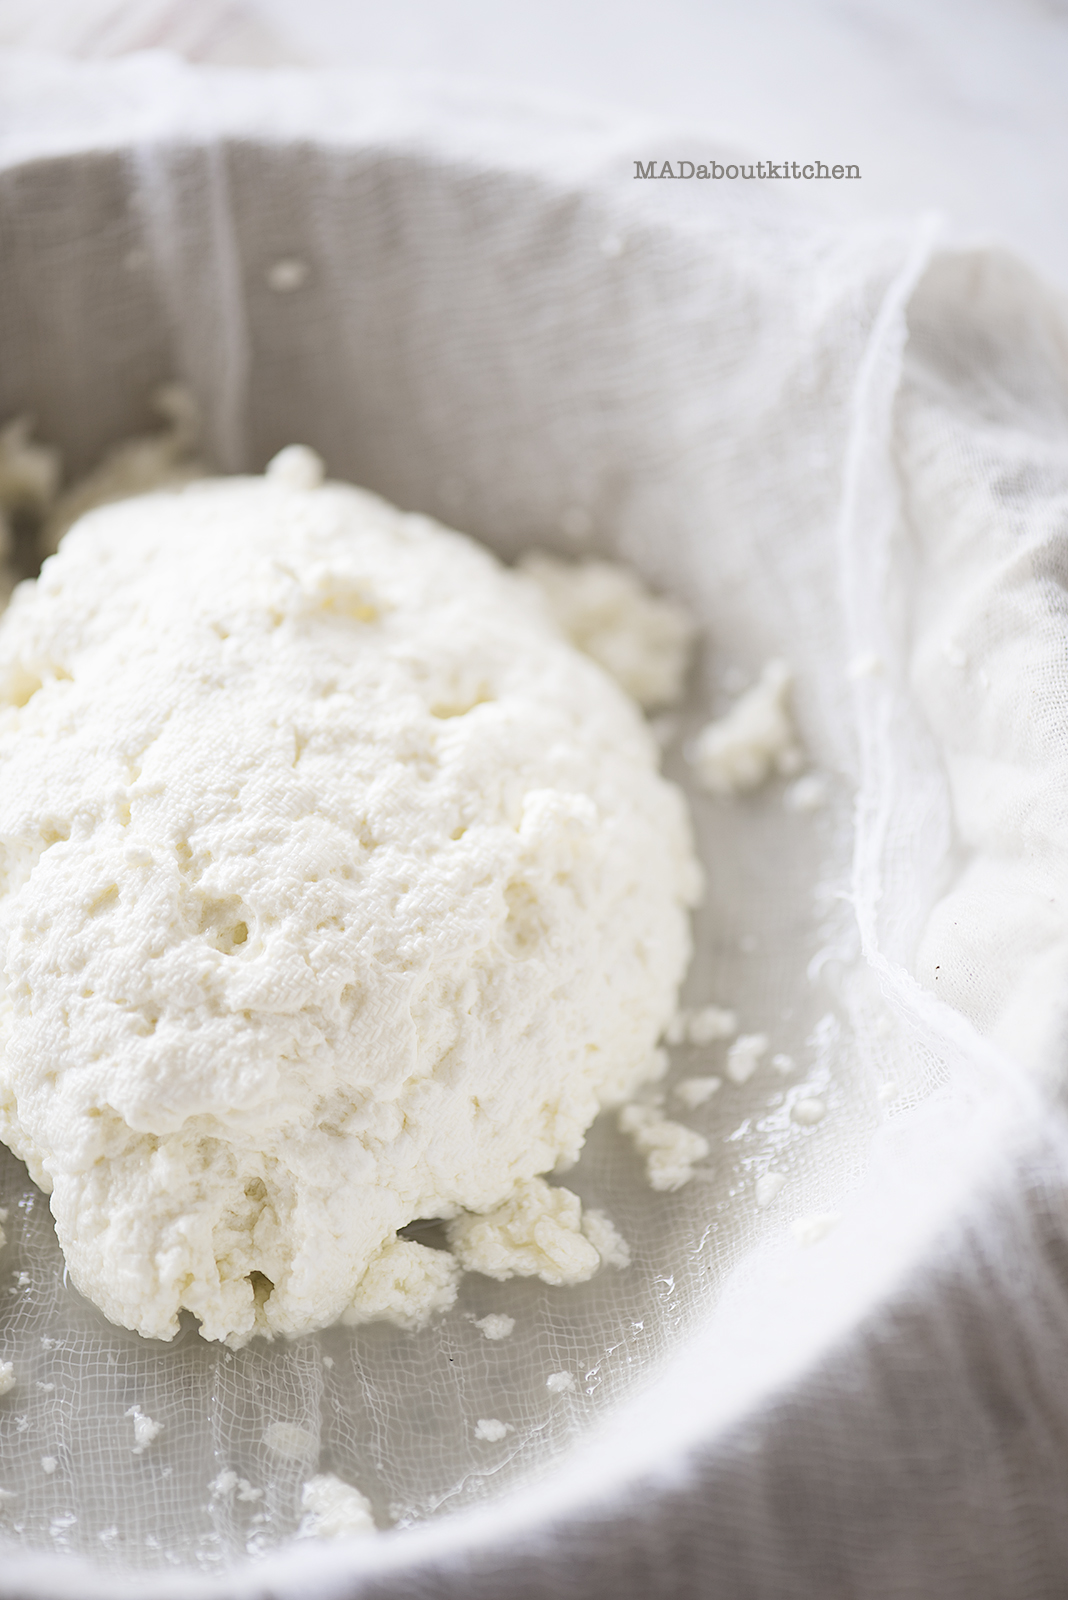
Pour this curdled milk into the muslin cloth. Wash this well under running water. ( This stage of the paneer is called Chenna, which we use in Indian desserts like Rosagulla and Champakali. If you want to make Chenna, wash it under running water and let it just sit on the cloth for 15 mins for the water to drain naturally. Like how you see in the image below. Do not squeeze it)
To make Paneer gather the ends of the cloth and hold it up to drain all the water.
Squeeze it really really well to by twisting the cloth.
Start forming a ball as you twist and squeeze the excess water out.
orm a real tight ball. Once the water stops dripping, place this ball in the 6″ strainer.
Place a flat plate on this and put a weight on it, like a mortar or the roti stone. Keep the plate flat to get an even paneer disc.
Leave it for 15 mins and then open it, cut it into pieces and store in the refrigerator. It keeps well in the refrigerator for a week or deep fry the pieces and freeze it.
Now that the Paneer is made, you may want to try Paneer Bread Balls, Avocado Popsicles, Bharwa Lauki, Mango Cheese Cake, Sweet Ravioli and Palak Paneer ,
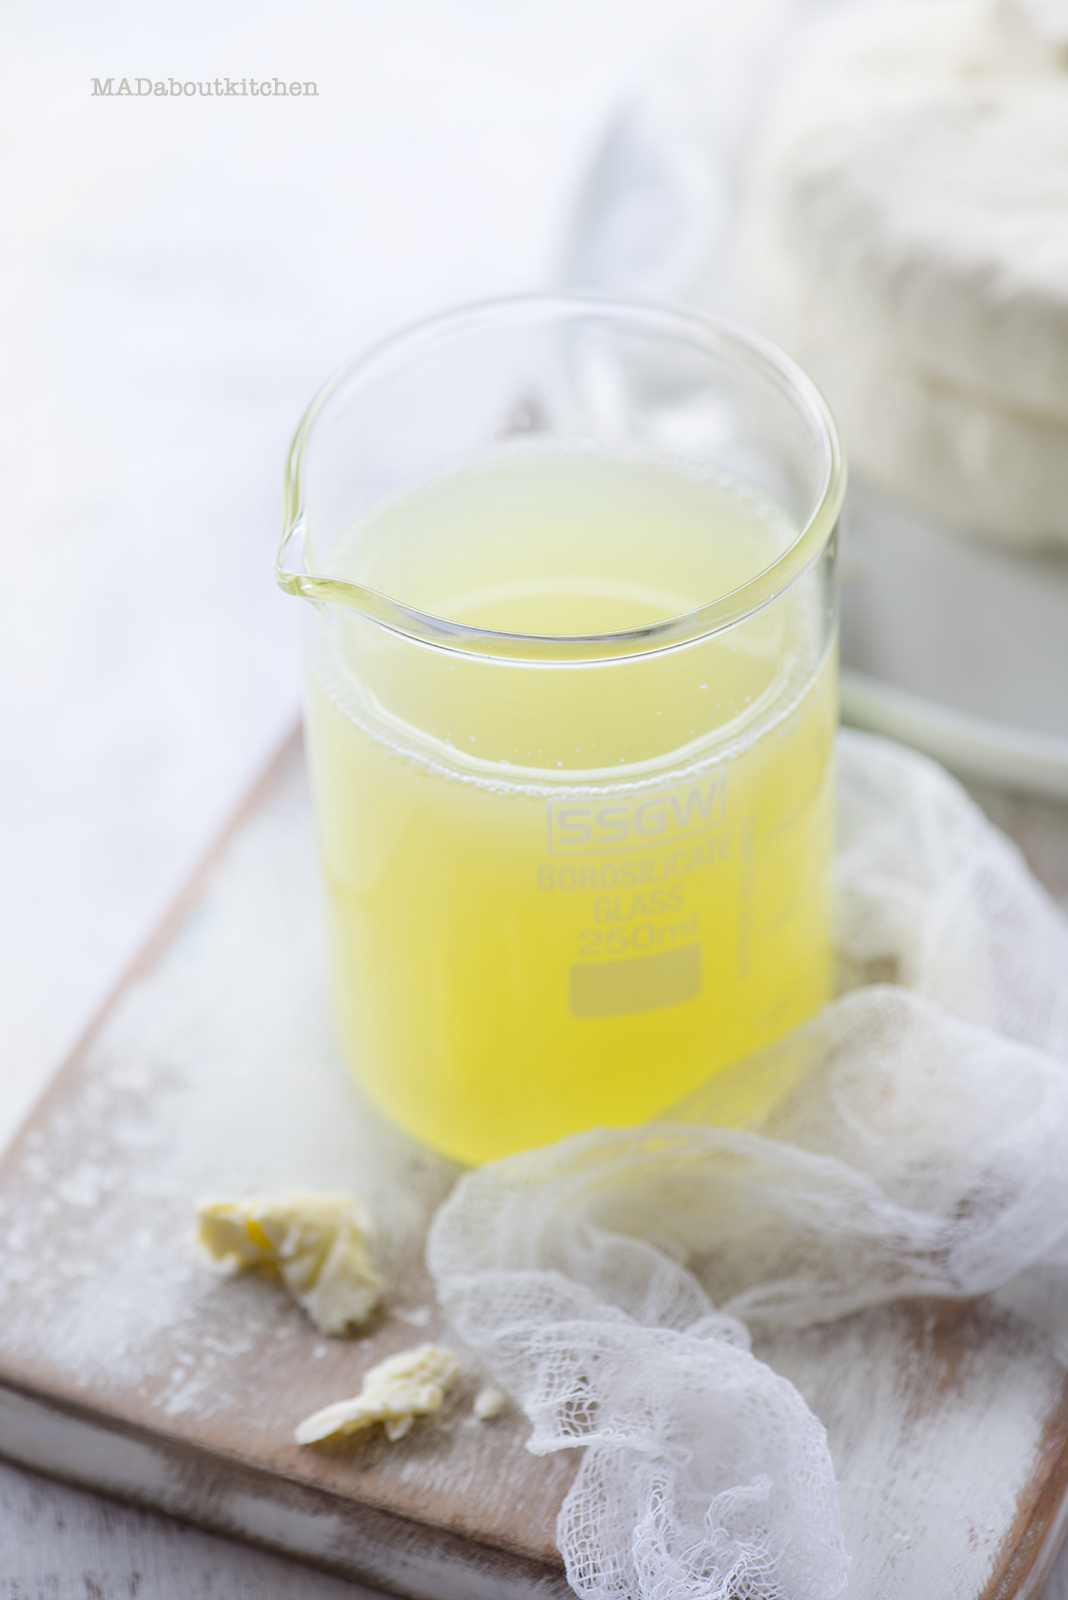
The Whey water that is squeezed can be stored in bottles and refrigerated to be used in a lot of ways in the kitchen. As it is high in protein, I use it in my Pre Workout or Post Workout Smoothies. Or to knead the roti dough or use it in the curries.
Tips:
Washing the curdled mixture in running or ice cold water ensures it stays soft and also removes the sour taste of the curd or lemon added.
The weight will help compress the paneer and also remove excess whey. Leave this for not more than 20 mins.
The colour of the Paneer depends on the fat percentage of the milk. It is more yellowish if the fat percentage is high and whiteish if its low.
- For a 1" thick and a 6"diameter disc
- 2 ltr - Whole milk
- ¾ ltr - Curd
- Juice of 1 Lemon ( if needed only )
- Equipments required
- Big vessel, thick bottom, with 4 ltr capacity
- Muslin cloth
- 6" wide Strainer preferable flat bottomed
- A vessel for the strainer to sit on
- Mortar for the weight
- Line muslin cloth on the strainer and place it on the vessel.
- In the big vessel pour in all the milk and heat it while stirring occasionally to avoid milk from getting stuck to the bottom. If the vessel is not thick bottomed it will anyways get stuck. But do not scrape it. This will spoil the uniformity of the paneer.
- As soon as the milk boils and comes up, add half the amount of curd. Stir well. The milk will start curdling. If not add till it curdles. The milk should curdle well and the light lemony whey should seperate from the curd. This whole process of curdling will take a minute. The amount of curd required will depend on how fat the milk is and how sour the curd is. Do not mix the liquid vigorously. Lightly keep gathering the curdled milk to one end of the vessel. This will keep the paneer soft and not dense.
- Pour this curdled milk into the muslin cloth. Wash this well under running water or ice water and gather the ends of the cloth and hold it up to drain all the water.
- Squeeze it really really well to by twisting the cloth. Start forming a ball as you twist and squeeze the excess water out. Form a real tight ball. Once the water stops dripping, place this ball in the 6" strainer. Place a flat plate on this and put a weight on it, like a mortar or the roti stone. Keep the plate flat to get an even paneer disc. Leave it for 15 mins and then open it, cut it into pieces and store in the refrigerator. It keeps well in the refrigerator for a week or deep fry the pieces and freeze it.
- The Whey water that is squeezed can be stored in bottles and refrigerated to be used in a lot of ways in the kitchen. As it is high in protein, I use it in my Pre Workout or Post Workout Smoothies. Or to knead the roti dough or use it in the curries.
- Tip1: Washing the curdled mixture in running or ice cold water ensures it stays soft and also removes the sour taste of the curd or lemon added.
- Tip 2: The weight will help compress the paneer and also remove excess whey. Leave this for not more than 20 mins.
- Tip 3: The colour of the Paneer depends on the fat percentage of the milk. It is more yellowish if the fat percentage is high and whiteish if its low.
Leave a Reply